General Info, LED Hoops, Shipping
How to Coil or Collapse a Hoop
Skip to main content

How Can We Help?
Use these Hoop Coiling Instructions with the Videos below:
- First, you’ll want to start overlapping the two ends of the tubing (like in the Videos below) *start collapsing hoop*.
Once both ends of the tubing are touching the surface you’re coiling on, keep a firm grip on the top of the hoop and flip it upside down so that the two ends are now facing upwards. - As you’re flipping, leave one hand holding the tubing on the bottom and move the other hand to the top of the hoop to keep it secure, preventing the tubing from flying out.
- Once the hoop is flipped and secure, keep one hand at the top of the tubing and use the other hand to grab one of the ends of the tubing sticking out.
- Using the same hand as the one that grabbed the first end of the tubing, secure and hold both the end and the coiled part of the hoop, now repeat on the opposite side with the remaining end sticking out.
- From there you can snap the hoop into place and you have a nicely coiled hoop. 🙂
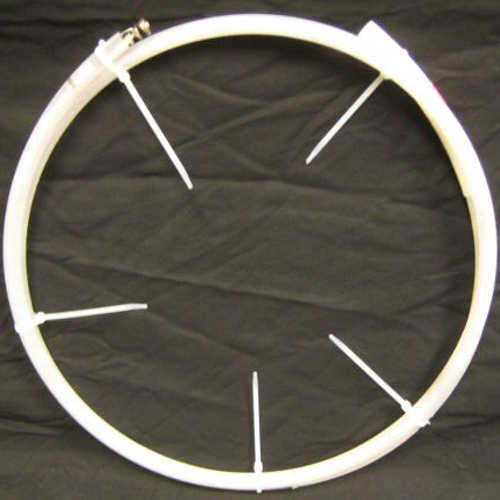
Collapse & Coil Hoop with Zip ties
Fully Coiling Hoop
Partially Coiling Hoop

