So you want to build a diy hula hoop…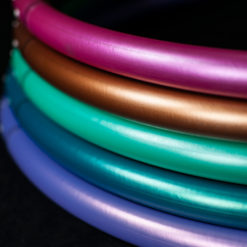

There are a few reasons people might have to build their own diy hula hoop. Some people just want a cheap hula hoop, others like the idea of doing it themselves for the experience. A common misconception is that learning how to make a hula hoop will be cheaper than buying one. If you already have all the supplies, or know someone who can get those supplies for free or cheaply, then DIY can be a cheap way to build a hoop. But buying all the supplies to build a hoop yourself can often cost a lot more than you initially plan for. That being said, here are the things you need to know in order to build your own hoop!
It’s all about the tubing
The size, thickness, and hardness of the tubing you use makes all the difference. There are many sizes and types of tubing available, but there are only a few that work best for adult sized hula hoops. PVC pipe is too hard and heavy. LDPE tubing is too soft. HDPE tubing is lightweight and fairly rigid, and is considered the standard tubing type by most hoop-makers. HDPE is the default tubing used in all Moodhoops LED Hoops. Polypro tubing is about 5% lighter than HDPE, but it’s a bit more rigid. Of course being more rigid means it’s also more brittle, especially in cold environments. If you’re not sure what you want, go with HDPE. You’re going to get a durable, long lasting tubing that isn’t going to crack because you dropped it on the pavement in cold weather.
For a look at some of the amazing colors of tubing available, check out our selection of Polypro Dayhoops.
Wait, I need to do math?

The other issue with tubing is the size. And this… gets confusing. First of all, click on this chart to help get a better understanding of the idea.
The important thing is the difference between ID and OD. Sometimes tubing is measured by the OD, or Outer Diameter. This is most common with tubing that is used in fabrication, or whenever we’re interested in how thick the tubing is to the observer. Other times, tubing or pipe is measured by the ID, or Inner Diameter. ID is important when we’re interested in how much stuff can fit inside the tube, usually water or air. In the hoop world, when someone tells you “Oh I only use 3/4″ polypro” they probably mean 3/4″ OD tubing (about the size of a penny), but sometimes they are actually referring to 3/4″ ID tubing which is about 1″ OD (about the size of a quarter). Confused yet?
For more information on hoop sizing, check out our Hoop Sizing Guide.
The tubing I found at the store is ugly, now what?
Yes, the irrigation tubing you found at your local plumbing store looks like it sat outside in the rain for months and then got dragged around on the concrete. There’s a reason for that. Nobody else cares about tubing like hoopers do. 🙂 For most people it’s just something to cut to size and bury underground. So it gets stored in the rain, thrown and smashed, treated like dirt before it ends up at the store. That’s why at Moodhoops we have our tubing specially made, just for us. If you want 1″ OD irrigation tubing without the markings and scratches you find at the store, check out our Blank Beginner Hoops. Or if you’re looking for beautiful tubing in 3/4″ or 5/8″ OD, you’ve probably already seen our selection of Polypro Dayhoops.
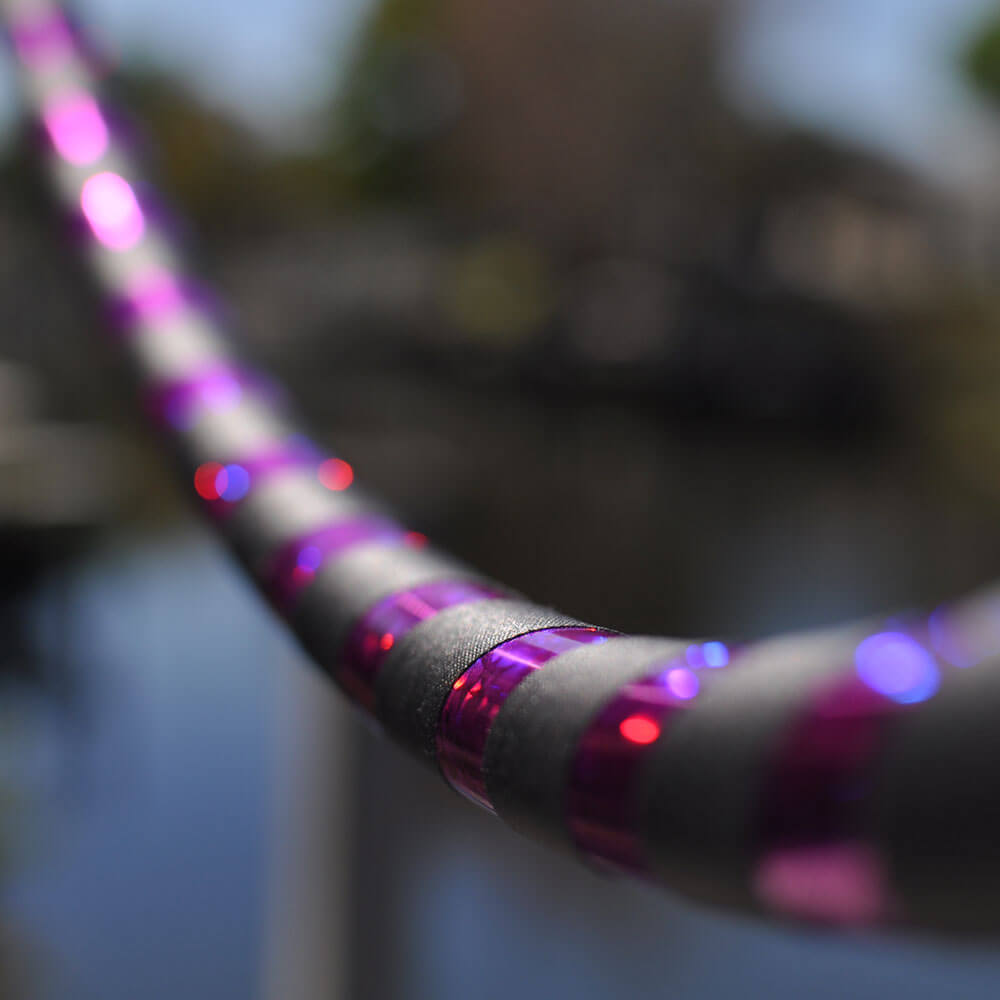
But maybe it’s too late for that, you bought a coil of tubing from the hardware store and it looks… like it came from the hardware store. What to do? You probably already know what to do, it’s time to tape that sucker up!
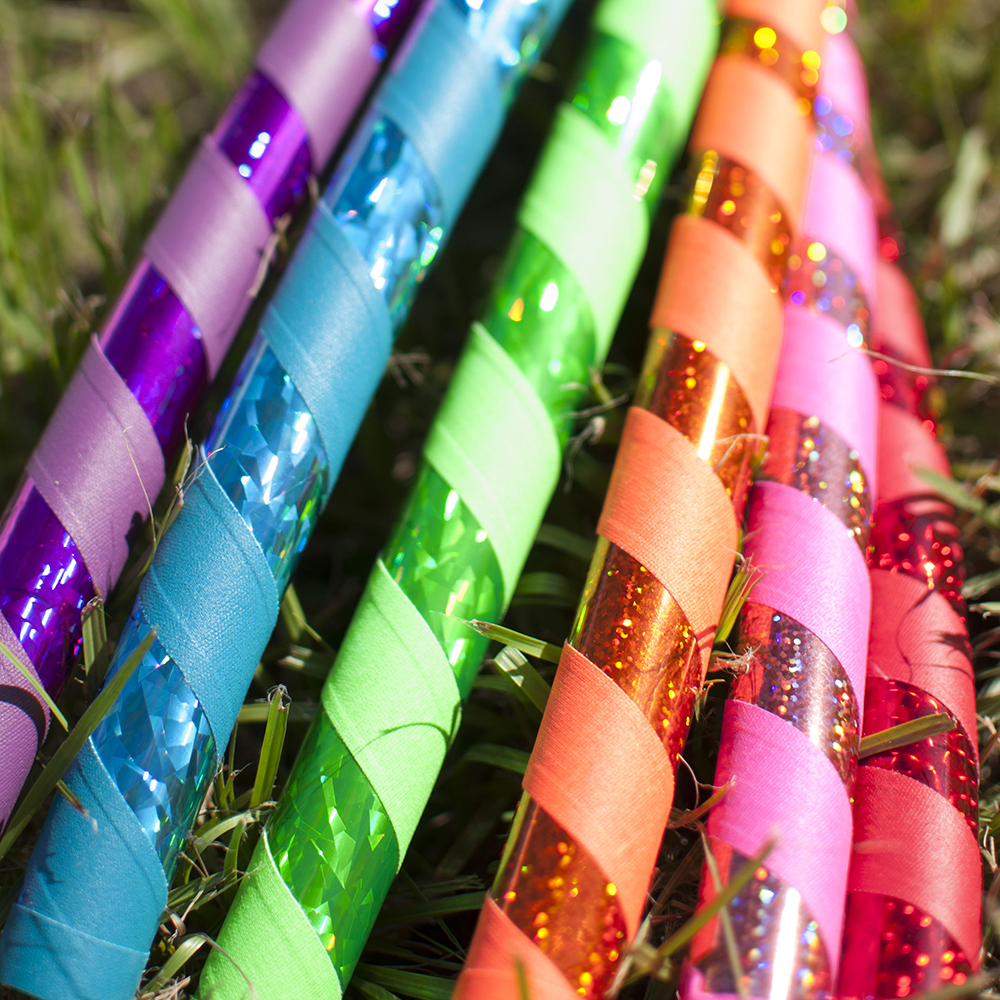
Tape, tape, tape, now I’m broke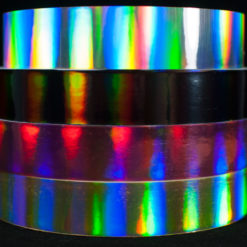

Tape gets expensive. Especially the good stuff. You’re going to be tempted to just use some cheap duct tape (and there’s no shame in that!). One thing to note about duct tape is that the adhesive tends to sneak out and get everywhere after a while. Your hoop will start to get sticky and then dirt and debris are going to start adhering to it. A much better alternative is Grip Tape. A 55yd roll of 1″ Grip Tape will tape about 5 hoops. The cool thing about grip tape is that the adhesive is less tacky, so it won’t seep out and make a mess. The other nice thing about grip tape is that it’s grippy! The texture of grip tape is like cloth, while the texture of duct tape is slick like plastic. So yeah, Grip Tape is better than Duct Tape!
But you want more, don’t you? You want sparkle. You want fancy metallic tapes. The cool thing about metallic tapes is that they look awesome. The bad thing about metallic tapes is that they’re really hard to work with. Grip tape is flexible and forgiving. Metallic tape is very rigid and has a really steep learning curve. You probably shouldn’t use metallic tape on your first hoop. If you want a great looking hoop with metallic tape and grip tape, check out our Beginner Hoops.
This thing came apart…
One of the most important things about your hoop is how it connects. There are a few options. Let’s start with the amount of segments. Our Polypro Dayhoops are single segment hoops, while our Beginner Hoops have multiple segments. Multiple segments are great for a large hoop because you can break it down into smaller pieces for travel. Single segment hoops are more responsive so they are a better choice for high performance Polypro hoops.
OK so you’ve decided how many segments you want to use, now how do you get the tubing to stay together? The easiest option is to just tape the ends together with duct tape. It’s not pretty, it’s not sturdy, but it works. One problem with a taped connection is that it’s pretty wobbly. A multiple segment hoop that has taped connections will be very wobbly and not very fun to hoop with. Another issue is that over time the tape will wear and stretch and the hoop connection will get even looser.
Another easy option, if you already have the tools, is to staple the ends of the tubing together using a staple gun (not a stapler). You see this often on the cheap children’s hoops at the store. This is not a great method. The staples can wiggle free and become tiny, dirty spikes that bury themselves into your skin. Ouch.
If you can find a piece of tubing (or wooden dowel) that fits snug in your hoop tubing, you can use a rivet gun to affix the hoop tubing to the inner tubing. This method works great. It’s secure, rigid, and doesn’t wear out. The only downside is that it’s quite permanent.
Finally, the most difficult (but best) method, rivets and snaps. This is the way we do it at Moodhoops. It gives a very sturdy and permanent fit, and it can be easily detached for travel. It requires the most tools and specialty parts, but in the end produces a superior hoop. Our LED Hoops, Beginner Hoops, Polypro Dayhoops, even the FutureHoop uses this construction method.
